Mac Face and Body has been around forever for good reason. I’ve seen it mentioned by celebrity makeup artists when asked what they use, and I’ve had it in my own collection for years. I did not get along with it right off the bat. When I was recommended it by a girl at the Mac counter years ago, I bought it but barely touched it. It seemed streaky and didn’t give me the coverage I wanted. I basically shrugged it off for months, thinking it sucked.
Either I saw someone apply it or remembered the proper way to use it at some point. This is going to basically be my love letter post to Mac Face and Body. I’ve mentioned it before in favorites posts and makeup looks, but I feel like I need one dedicated to this foundation. Spoiler alert, the correct way to apply it is to use your hands. Also, I hadn’t mastered good skincare and priming during my first experiences with the foundation so I didn’t have a chance. Now that I’ve got all that down, I now realize that there’s nothing like this foundation.
How to use Mac Face and Body Foundation:
- As always, start with clean skin. Make sure you are moisturized and also SPFed if you won’t be taking flash photos. I love Cerave moisturizer under makeup. For sunscreen, I use Neutrogena Hydro Boost or Jergens Natural Glow Face daily.
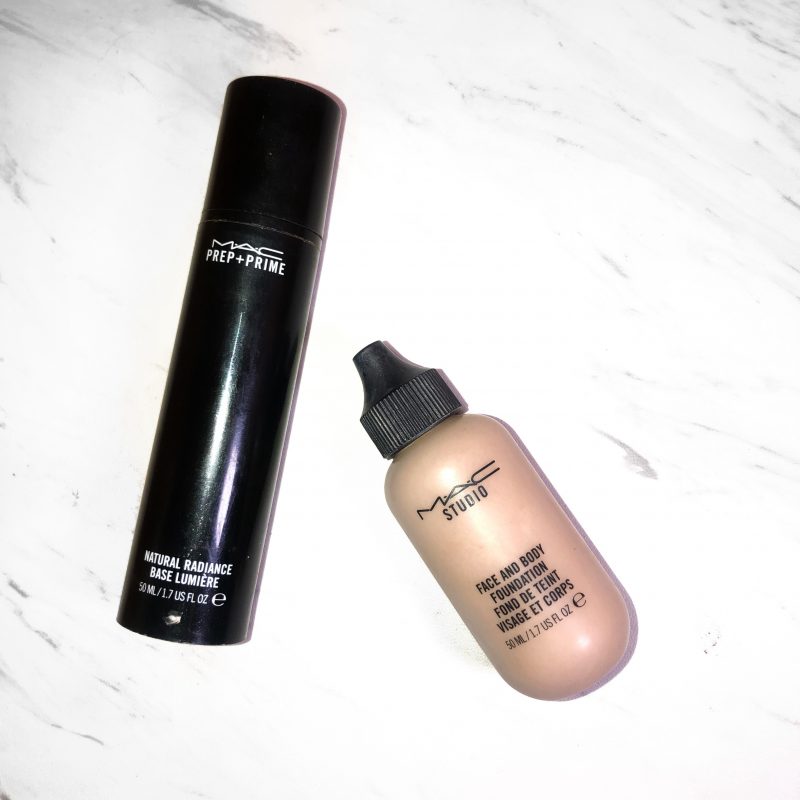
- Prime with your favorite based on your skin type. Urban Decay Deslick is great if you have oily skin. Then I spray Smashbox Primer water all over my face. If I want to look glowy I also add a layer of Becca Champagne Pop shimmering skin perfector liquid before the Urban Decay primer. Set primer with a translucent powder if you’re really oily like me.
- Take a pea sized amount of Mac Face and Body foundation and warm it up a little between your finger tips. Dot it all over your face.
- Using your hands, spread the foundation out evenly. You’ll feel it start to get tacky. Keeping massaging it until you see it start to melt and even out skin.
- You can add layers to add coverage by applying more with your fingers.
One layer gives light, natural coverage that basically just evens out tone and makes my skin look bouncy and healthy. My favorite way to wear Face and Body is to do one layer, then add concealer under my eyes to brighten up that area. I find that when I wear this I love how my skin looks throughout the day. When it does fade, it doesn’t sink into my pores or look patchy. It is totally a no-makeup makeup type of product, and I always forget that I’m wearing it because of the lightweight consistency. I love the way it melts into my skin to make everything look even without looking matte or heavy.
Cream products sit really well on top of this foundation, but because I’m oily I always set it with a powder. If I’m not going for a natural look and am getting more glammed up for whatever reason, I like to set it with a little bit of Bare Minerals Matte foundation powder on a stippling brush. This gives me a little more coverage and is a beautiful powder that also keeps that healthy lightweight look. Otherwise I just set with a translucent powder like Coty Airspun or RCMA No Color powder. I always set my t-zone with one of these as well.
From there I move on to bronzer, highlight, contour, blush, and under eye brightening. Last step is to shower my face in Loreal Infallible setting spray. If I was needing to run a marathon or something psychotic and needed to stay on, I’d finish up with a dusting of Urban Decay Velvetizer powder, because that stuff is bulletproof.
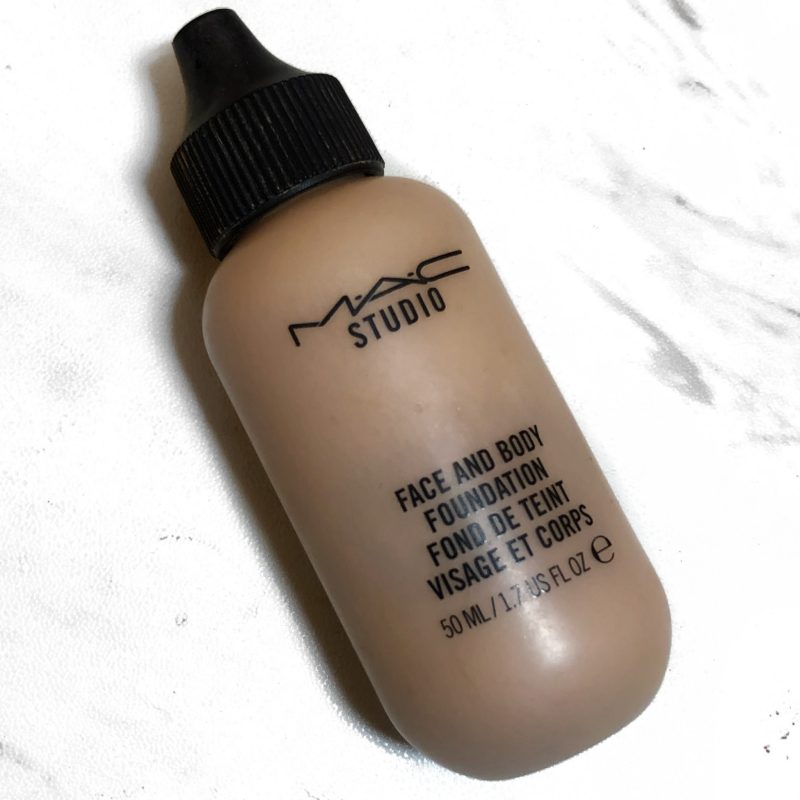
Again, I’m a huge fan of this foundation. A couple drops is all you need so the bottle lasts forever. I feel like this would work well on every skin type, age, and texture. Definitely one of my holy grail foundations that I reach for when I need something simple. It’s one that I know won’t let me down and will look great all day no matter if I’m wearing it under a full face of makeup or just with some mascara. I wear the shade C2, and it usually matches me best when I’m not overly self tanned for an everyday basis.
Give it a try and let me know what you think! Just don’t use a brush or sponge with it, fingers and warmth are the best tools for this product.
-Kim
Very interesting stuff to read.