It’s been forever since I did an updated post on how I do my nails at home. Recently I’ve been into longer nails and I think my last post that was dedicated to this topic was in 2015. I probably need to throw out some of my super old nail polishes that I’ve had for years now that I’m realizing this. If you’re a nail salon person, I totally understand. I used to get acrylics, then gels for years and years until I got my at home routine down. Even more amazing than the money I save by doing it myself is the TIME I get back. Sitting there for an hour and a half was torture! So often I’d end up leaving unsatisfied and being too shy or just sick of wasting time to stay and get mistakes corrected. I do not miss that damper on my day.
Steps
- Remove old polish with acetone
- Lightly file new growth to smooth
- Wash hands without soap
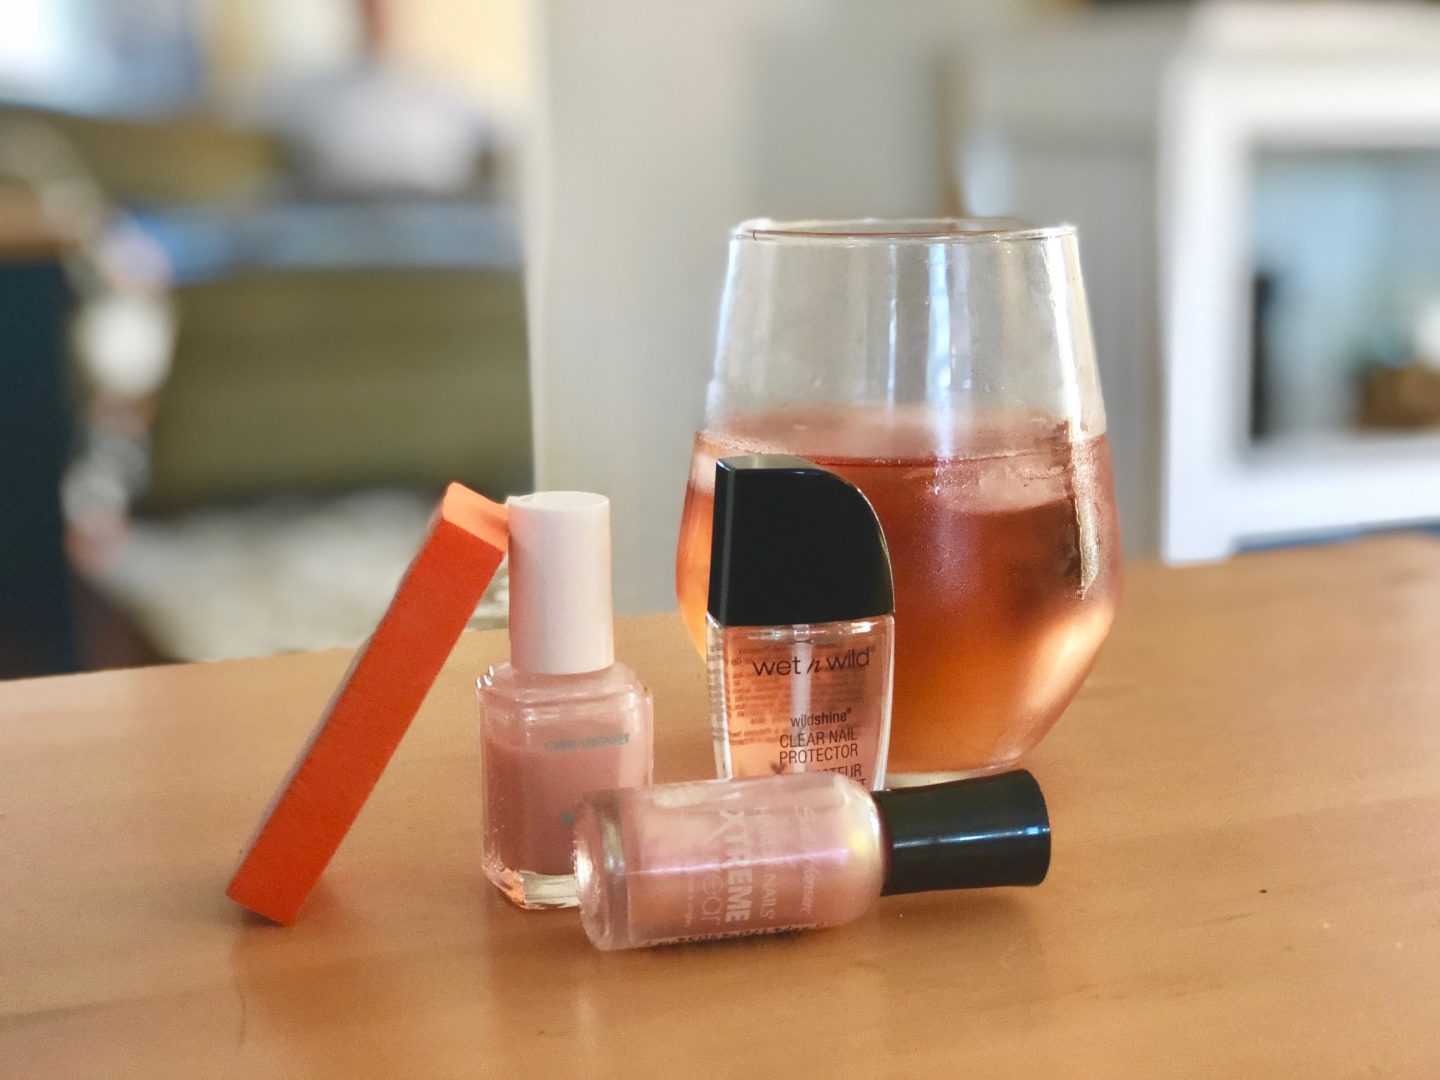
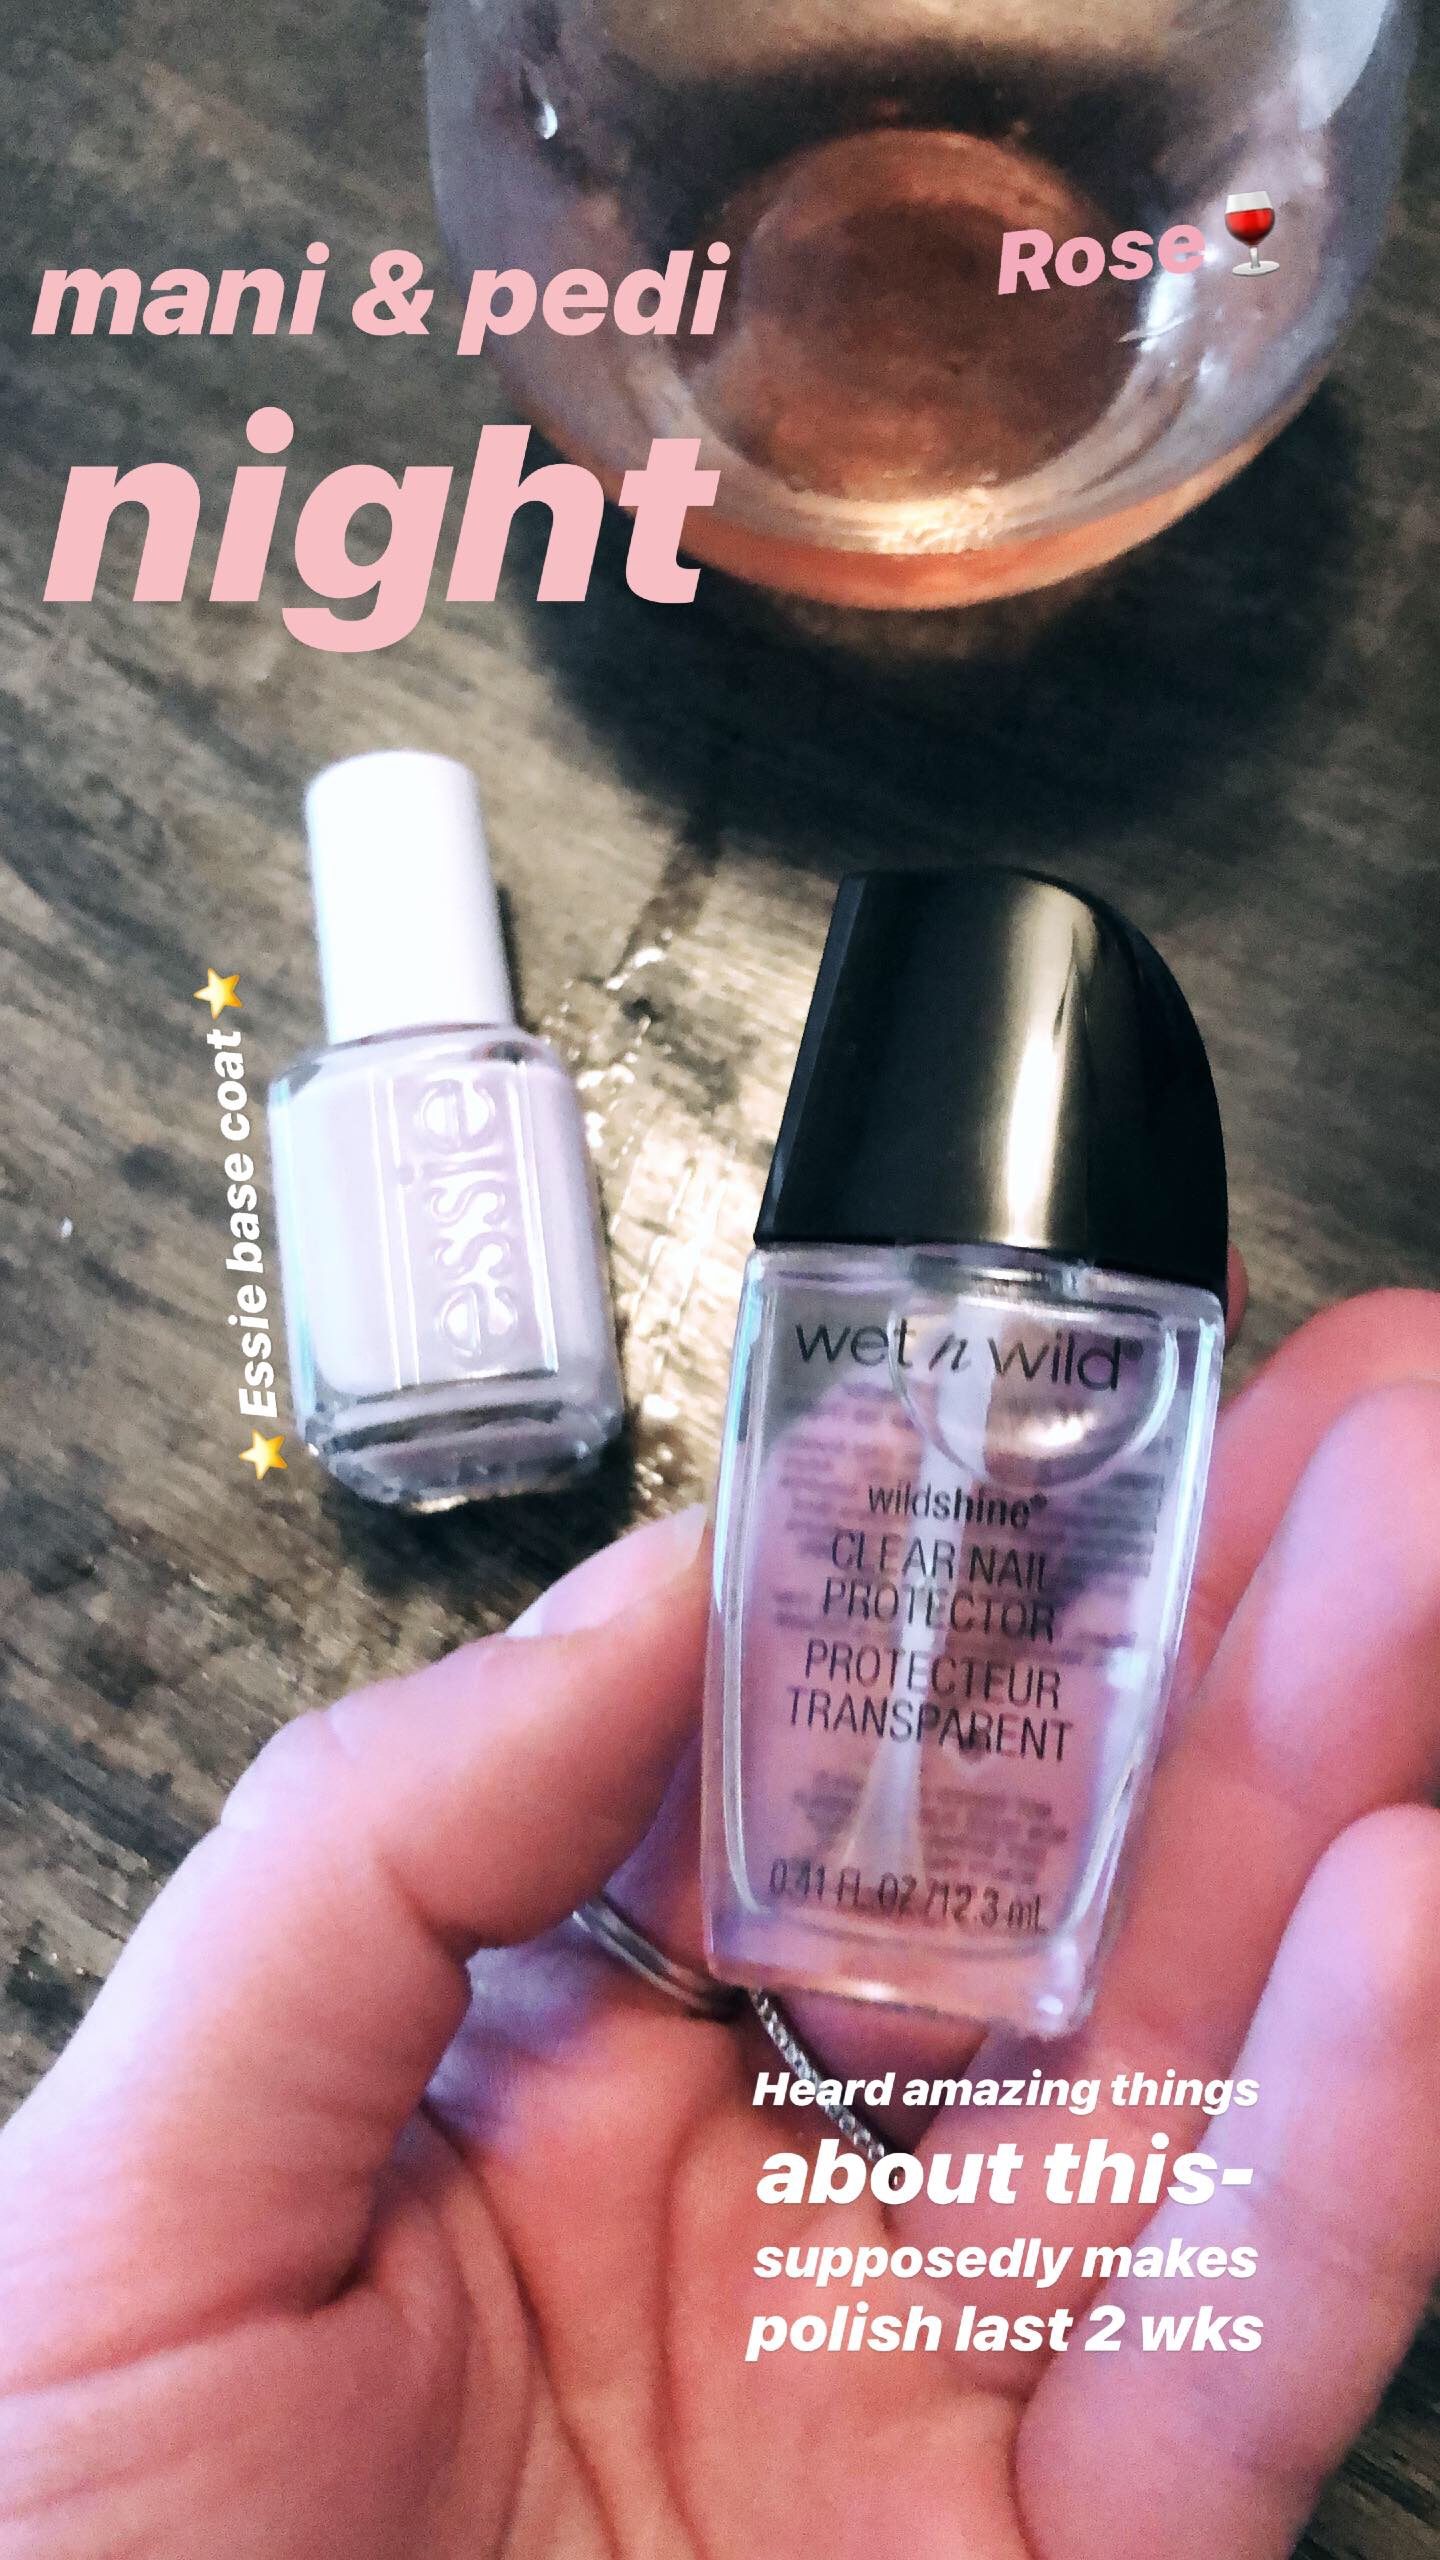
- Essie base coat
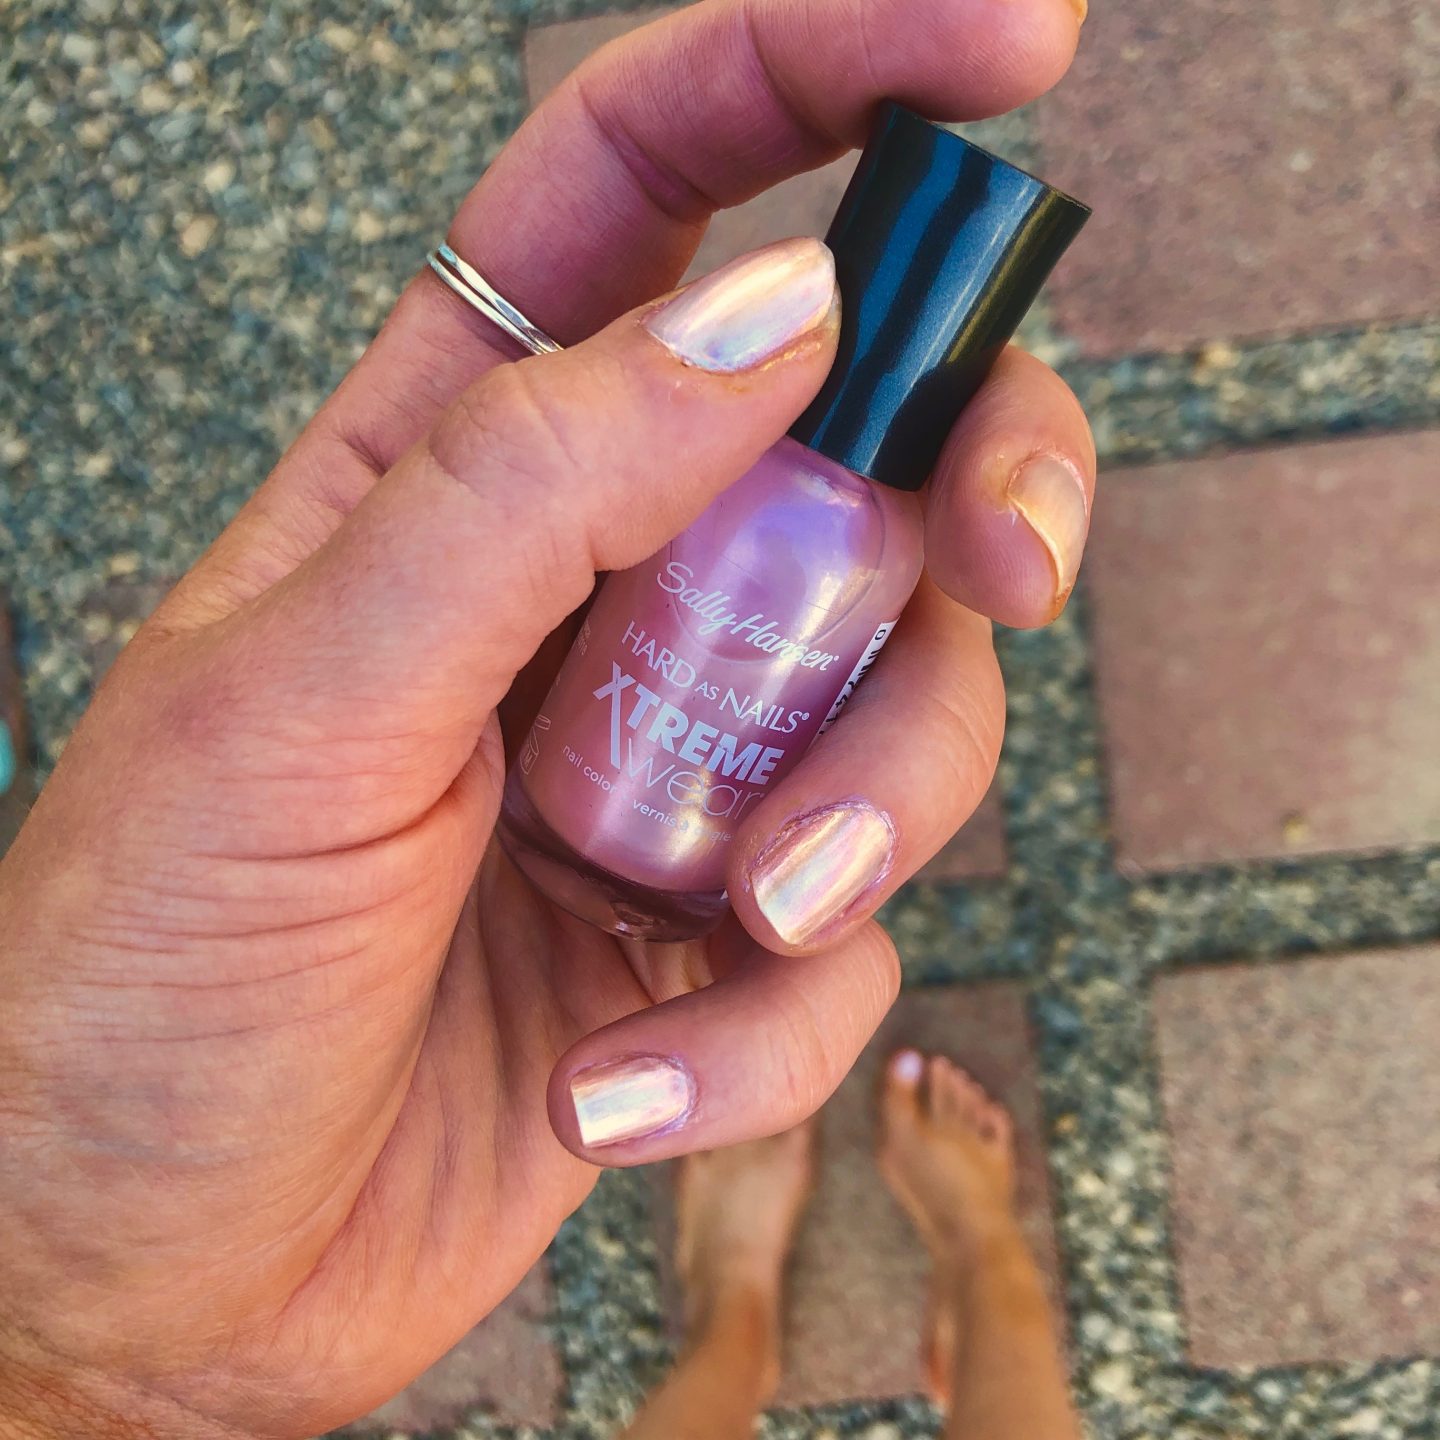
- Polish color
- Essie Top Coat
Prep
When my nails are bare, I use a filing sponge that is pretty soft from Sally Beauty Supply. I don’t like it too gritty because I’m just trying to buff down the ridges for a smoother canvas. Like I said I’ve been liking my nails a tad bit longer, so I just trim them if necessary, but I don’t file the tips. Filing into a soft almond shape shape is the next skill I’d ideally like to master, but for now they’re just my natural rounded/ oval shape.
So I have the shape down, and I’ve washed my hands. I saw this post on a DIY manicure, and she mentioned washing her hands with just water to avoid the film soap my leave on her nails, so I do that now too. She also has a really good tip about using an index card, so definitely check it out. I should mention I’m usually relaxing on the couch after dinner while I do this. I don’t want to have to use my hands too much for a few hours, so I’ve already done any dishes or laundry.
Paint
I apply one coat of Essie Base Coat, which dries down pretty quickly and I’m ready to go in with nail polish. If I don’t have a color in mind I browse my Pinterest board for inspiration. Usually my manicures last a little over a week so I don’t want to be stuck with something I don’t like for that long. I paint my nails, usually sticking to 2-3 coats maximum. I let them dry down for about 5-10 minutes before adding top coat.
I’ve linked my favorites above. I used to use Seche Vite top coat that you’ve probably heard about, but the Essie one makes my nails last longer, and doesn’t get thick and gloopy like Seche Vite did. You can use the Essie Gel Couture one over regular polish, and it doesn’t require a light. In that blog post I linked above, she mentions using Gelous as a base coat. I may pick that one up to give it a try next time I’m in Sally Beauty, but I’ve repurchased the Essie one over and over again because it’s a great primer. The last time I painted my nails I used the Wet N’ Wild top coat because it was raved about as making manicures last two weeks. If it ends up being better than Essie I’ll have to switch over to it to save a few bucks so I’ll report back on that.
Care
There isn’t much I do for aftercare. Collagen powder in my drinks makes my nails stronger, & I use a CBD balm on my cuticles when I remember to, which definitely helps with the dryness. When I don’t make an effort I definitely end up with some gross peeling. I have a wax lotion bar from Etsy that I keep at work that I like too. Speaking of Etsy, I just ordered these nail decal stickers to play around with so hopefully I can pull them off.
Thank you for reading! I highly encourage giving an at home manicure a try. I find it so relaxing to paint my nails now, and I love knowing I did it myself! Don’t worry too much about getting polish on your skin, it comes off in the first shower.
-Kim